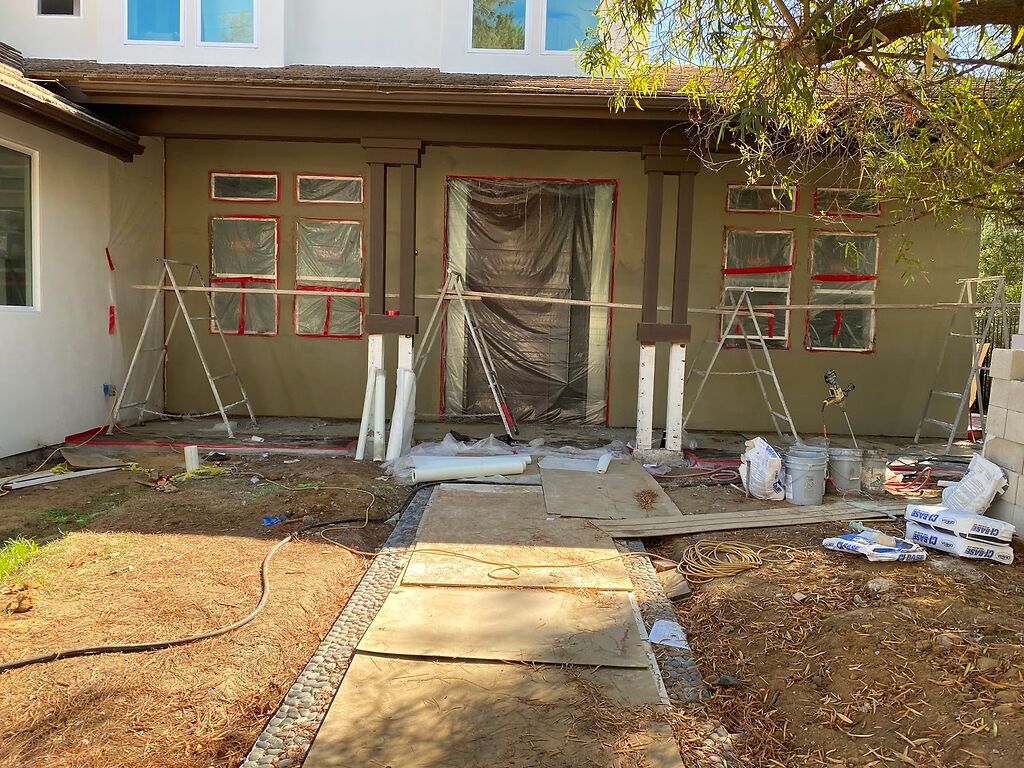
Replacing windows during a home remodel is not only a great way to boost your home’s curb appeal, it is a great way to improve your energy savings. While there are many different brands of windows available to homeowners, it pays to do some research into the options available and what value features they might add. There are also plenty of ways to save on window costs; for example, many people don’t realize that mullions, the decorative lines that portion glass off into the appearance of smaller panes, cost more to produce than if you simply purchase a solid glass window of the same size. The bottom line? As with everything, be an educated consumer before you make a replacement window selection.
Replacement Window Sizing
The most important factor in window replacement during remodeling is size. Ordering the incorrect window size can result in a huge adjustment to the project, and nothing makes professional window installers roll their eyes more than inaccurate window measurements. To determine the size of the window you need to order, you must measure the opening that houses the window. Using a tape measure, measure from your window sill to the top of the window opening to determine height. Repeat this measurement two more times, so that you’ve gained numbers from the right, middle, and left sides. Take the smallest measurement from this process and use it to determine what size window you need. Picking the smallest number means you are less likely to have to cut existing material away during your replacement. This process is repeated for width, however, you will measure jamb to jamb and pick the smallest measurement, again.
Preparing The Window Opening
Once you’ve gotten your new replacement windows, you’ll want to prepare the opening. Using a small pry bar and a putty knife, gently remove the stop strips (the thin strips of wood that help hold the window securely in place). Once these are gone, you’ll see hardware (screws) anchoring the window into the framing. This hardware will need to be removed. Take care during this part to avoid damaging what is already there. You’ll want to remove everything except the strip of board that acts as a perimeter lip, on the outside of the window cavity. This is known as the blind stop and will help you line up your new window insert.
Inserting The New Window
Gently place your new window insert in to test the fit. If all looks well, remove it and apply an even, thin bead of window and door caulk along the lip of the blind stop. Now, take the window and place the bottom first on top of the sill, tilting it into place until it connects to the blind stop. The caulk is not going to hold your window in place, so your next objective is to loosely fasten the window into place with a partial-drive screw along the jambs. It’s perfectly fine not to drive these in all the way. You will be grateful for the ability to readjust the window in the space as you move forward.

Positioning The Window
If only it were as simple as popping out the old window and inserting the new one; you do want to make sure your window is sitting squarely inside the opening. To identify the ideal position, you will want to establish if the window is sitting square. Do this by measuring corner to corner on the diagonal. Add shims and tighten/loosen screws until the measurements are the same. Once the square has been achieved, you will want to find plumb. This means making certain the top and the bottom of the window are aligned. Use a level against the vertical side of the window, adding shims as needed to ensure the correct positioning. When level is achieved, tighten screws and cut off the excess shims with a utility knife.
Finish The Install
Your window replacement is just about finished. All you need to do is replace your trim, which you expertly removed initially. Once the trim is back in place and secured with finishing nails, you need to be sure to seal the joints of your window with caulk. A window is only as good as its install. You don’t want to lose out on all your energy savings because your exterior and joint seals weren’t done correctly. As always, practice safety and have a spotter if you are using a ladder, but seal your window on the exterior, filling in any gaps and cracks as aesthetically as possible. While the seal on your window is the most important factor, take your time and work to make the application minimal but effective. Too much caulk is not just unsightly, it can actually compromise the seal of your window down the road.
A Word To The Wise
Not all window replacements in a home remodel are equal. Replacing old windows with identical new windows is often the simplest process, but many homeowners investing in a remodel go the extra mile to make major changes to the fenestration in a space. If you’ve decided to abandon the old window sizes or types, you may want to consider hiring a professional window installer. Changing the framing of a window opening is far more involved than simply swapping one window for another. The same can be said for different styles of windows. Some installs are much more labor intensive. There is a time and a place for DIY work, and basic window replacement can be one of those times; however, complex window changes may not be something you want to get into without the advice of an expert.